-
Flutter_14. Dropdown and Validation> Frontend/Flutter 2023. 5. 9. 21:16
0. 학습 내용
- Swipe 삭제 및 SnackBar를 사용해 Message 및 Undo 노출
- Style 변경
1. Swipe 삭제 및 SnackBar를 사용해 Message 및 Undo 노출
...expenses_list.dart 생략 Widget build(BuildContext context) { // ListView is used when there are many items // builder is used to create scrollable list only they are visible return ListView.builder( itemCount: expenses.length, // number of length itemBuilder: (BuildContext context, int index) { // Dismissible: swipe to delete return Dismissible( key: ValueKey(expenses[index]), //create key obj child: ExpenseItem(expense: expenses[index]), onDismissed: (direction) { //direction will be either endToStart or startToEnd onRemoveExpense(expenses[index]); }, // run when swiped. ); }, .. 생략- Dismissible을 사용하면, 왼쪽 혹은 오른쪽으로 스와이프 했을 경우, 삭제 가능
- param 값으로, 스와이프 할 때, onDismissed 함수를 설정한다.
- 해당 함수는, 부모로 부터 전달 받을 예정임으로, 아래와 같이 설정
class ExpensesList extends StatelessWidget { const ExpensesList({ super.key, required this.expenses, required this.onRemoveExpense, }); final List<Expense> expenses; final void Function(Expense expense) onRemoveExpense;- _registeredExpenses에 저장된 데이터가 없으면, mainContent가 비어있다고 알려줌.
- 자식으로 전달줄 onRemoveExpense 를 _removeExpense 로 연결
void _removeExpense(Expense expense) { final expenseIndex = _registeredExpenses.indexOf(expense); setState(() { _registeredExpenses.remove(expense); }); ScaffoldMessenger.of(context).showSnackBar( SnackBar( duration: const Duration(seconds: 3), content: const Text('Expense Deleted'), action: SnackBarAction(label: 'Undo', onPressed: () { setState(() { _registeredExpenses.insert(expenseIndex, expense); }); }), ), ); }- ScaffoldMesseger 의 showSnackBar은 show가 붙어있듯이, 작은 메시지 팝업을 노출.
- SnackBar obj을 생성하여, 위의 사진과 같이 작성
- action: allows you to add a button to the SnackBar that the user can press to take an action related to the message being displayed.
- action을 통해, 행동 취소 버튼을 만들어, 삭제한 내용을 취소한다.
- 여기서는 기존의 add가 아닌, insert 를 통해 뒤에서 부터 넣는것이 아닌, 원하는 index로 부터 넣는다.
2. Style 변경
import 'package:flutter/material.dart'; import 'package:flutter06_expense/widgets/expenses.dart'; // generates a color scheme based on a seed color var kColorScheme = ColorScheme.fromSeed( seedColor: const Color.fromARGB(255, 96, 59, 181), ); void main() { runApp( MaterialApp( // copyWith: uses default useMaterial3 setting, no need to start from scratch // the theme of the MaterialApp by copying the default theme using ThemeData().copyWith() theme: ThemeData().copyWith( useMaterial3: true, // add more settings below // 1. colorScheme colorScheme: kColorScheme, // 2. app-bar theme appBarTheme: const AppBarTheme().copyWith( backgroundColor: kColorScheme.onPrimaryContainer, // this foregroundColor will overwrite other foreground theme foregroundColor: kColorScheme.primaryContainer), cardTheme: const CardTheme().copyWith( color: kColorScheme.secondaryContainer, margin: const EdgeInsets.symmetric(horizontal: 16, vertical: 8)), elevatedButtonTheme: ElevatedButtonThemeData( style: ElevatedButton.styleFrom( backgroundColor: kColorScheme.primaryContainer), ), textTheme: ThemeData().textTheme.copyWith( titleLarge: TextStyle( fontWeight: FontWeight.w900, color: kColorScheme.onSecondaryContainer, fontSize: 20, ), )), // change material 2 to material3 home: const Expenses(), ), ); }- 해당 부분을 통해 app의 전반적인 theme 을 설정
appBarTheme: const AppBarTheme().copyWith( backgroundColor: kColorScheme.onPrimaryContainer, // this foregroundColor will overwrite other foreground theme foregroundColor: kColorScheme.primaryContainer),- appBarTheme을 예제로 들면, AppBarTheme obj를 생성 및 복사하고,
- backgroundColor: fromSeed에서 설정한 컬러 중 onPrimaryContainer에서 사용된 색을 가져와 설정
- foreGroundColor: fromSeed에서 설정한 컬러 중 primaryContainer 에서 사용된 색을 가져와 설정
의 색상을 설정하면, 아래와 같이 변경된다.

- copyWith와 styleFrom 차이 from chatGPT
더보기copyWith is a method that allows you to create a new object with some properties overridden from an existing object. It is commonly used to modify the properties of a theme or a widget's style. For example, you can use copyWith to modify the color, font size, or padding of a widget without changing its other properties.
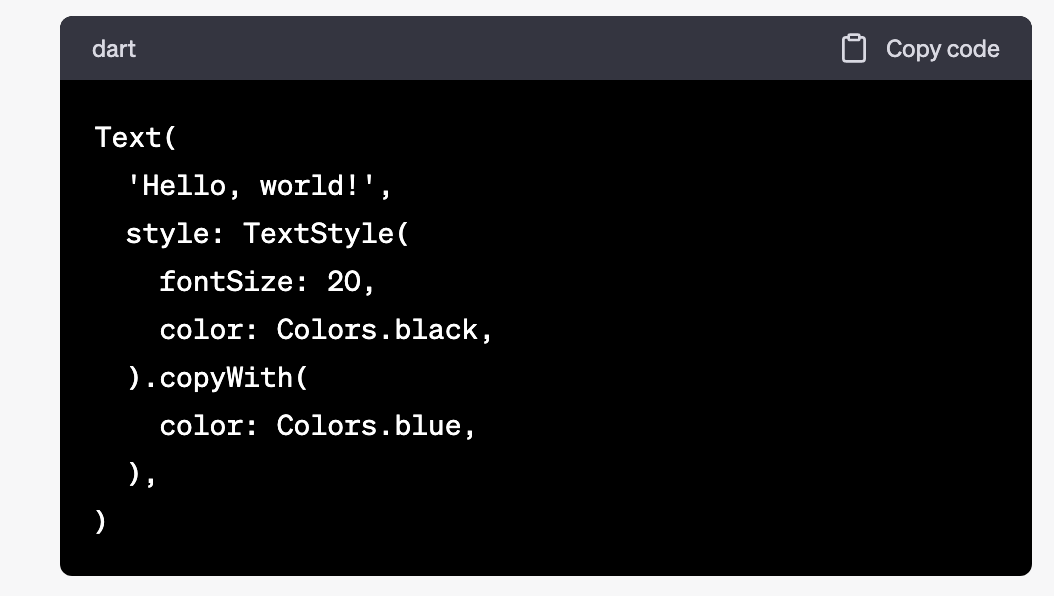
copyWith 예제 styleFrom is a convenience method that creates a TextStyle object from a set of parameters. It allows you to create a TextStyle object without having to manually set each property. You can use styleFrom to create a new TextStyle object with some common properties set, and then use copyWith to modify any other properties as needed.
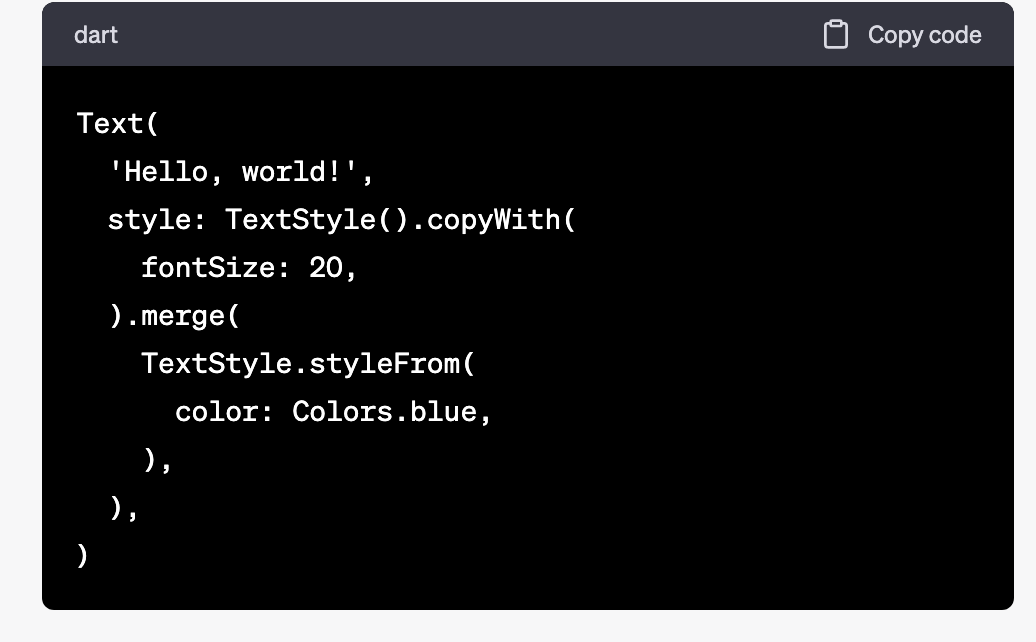
styleFrom 예제 In general, you can use copyWith when you want to modify specific properties of a widget or theme, and you can use styleFrom when you want to create a new TextStyle object with some common properties set.
- 아래와 같이 fromSeed는, 원하는 색을 설정하면 해당 색과 비슷한 색상들을 flutter내에서 생성해준다.
// generates a color scheme based on a seed color var kColorScheme = ColorScheme.fromSeed( seedColor: const Color.fromARGB(255, 96, 59, 181), );'> Frontend > Flutter' 카테고리의 다른 글
Flutter_15. Building Responsive and adaptive User Interfaces (0) 2023.05.15 Flutter_14. Theme in Widget & Dark Mode & Named Constructor & For in (0) 2023.05.12 Flutter_13. Dropdown and Validation (0) 2023.05.08 Flutter_12. DatePicker (0) 2023.05.06 Flutter_11. App bar & Modal &Text Field (Input tag) (0) 2023.05.04